
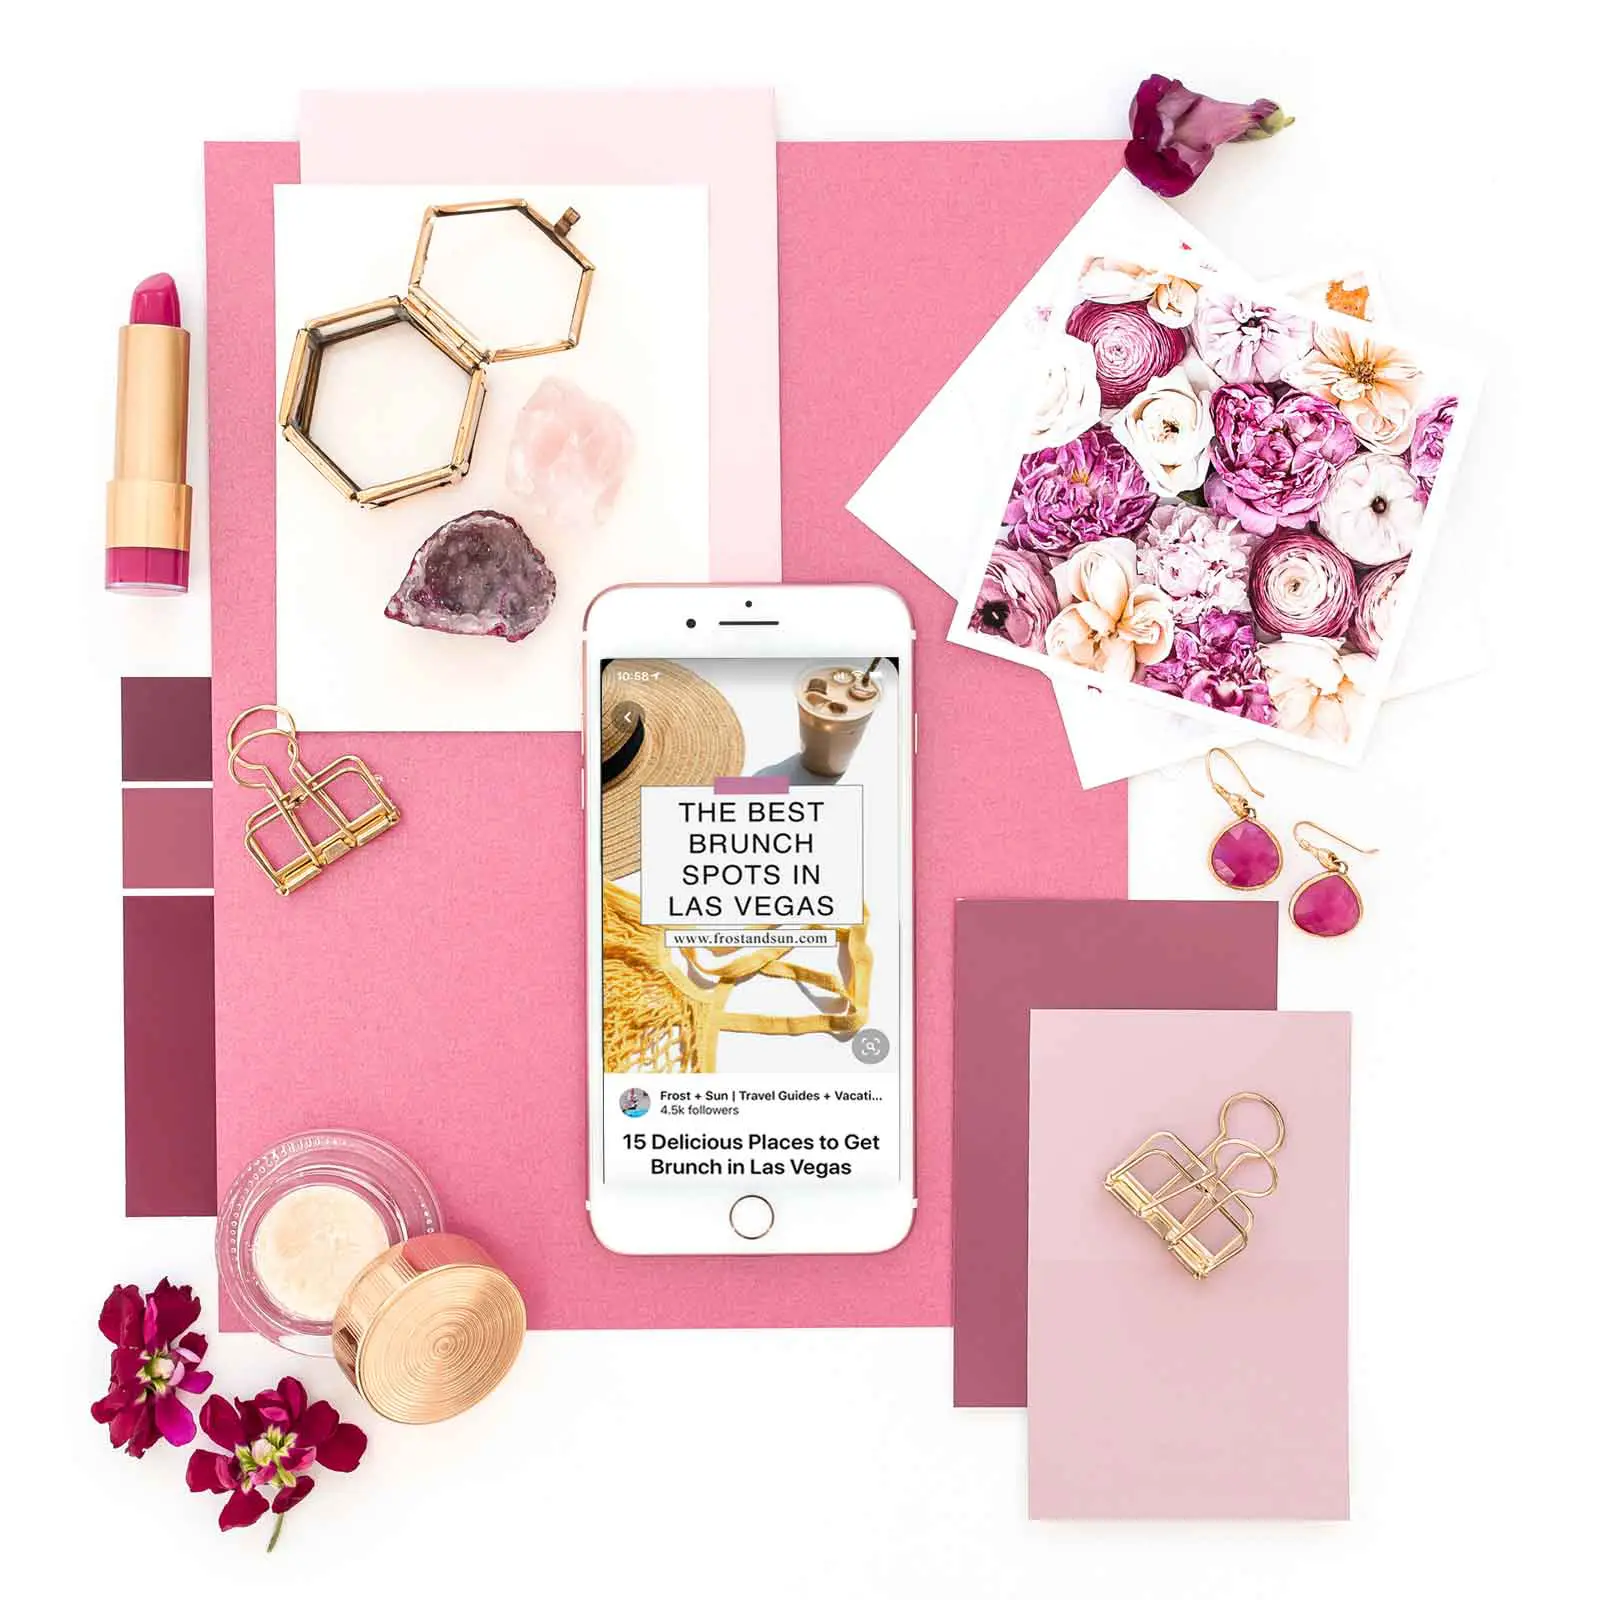
Over 1.8 million people see my pins on Pinterest every single month which translates to a steady stream of visitors to my blog.
When I first started Frost + Sun, I thought managing a blog was going to be super easy and I’d have tons of readers within a few months.
It didn’t take long for me to realize that running a blog wasn’t easy at all and that I’d have to work really hard to build an audience for my blog.
There were so many things to do to bring traffic to Frost + Sun, very little time to do it all thanks to work and family obligations, and no budget to hire someone to help me out.
When I hit a plateau, instead of giving up, I took a step back and asked myself: How can I solve these problems?
I was barely making any money through Frost + Sun, so hiring a virtual assistant or consultant wasn’t possible yet, nor was leaving my corporate job.
And I’m not about to get rid of my family and friends – that’s just brutal.
That left growing traffic as my only option, but even alone that goal was overwhelming to manage.
Enter my BFF, Pinterest.
Within 6 months of focusing on growing monthly views and engagement on Pinterest, I hit my first major traffic goal and finally started to make money blogging.
I learned that success on Pinterest requires a solid foundation before you can even think about implementing a pinning strategy.
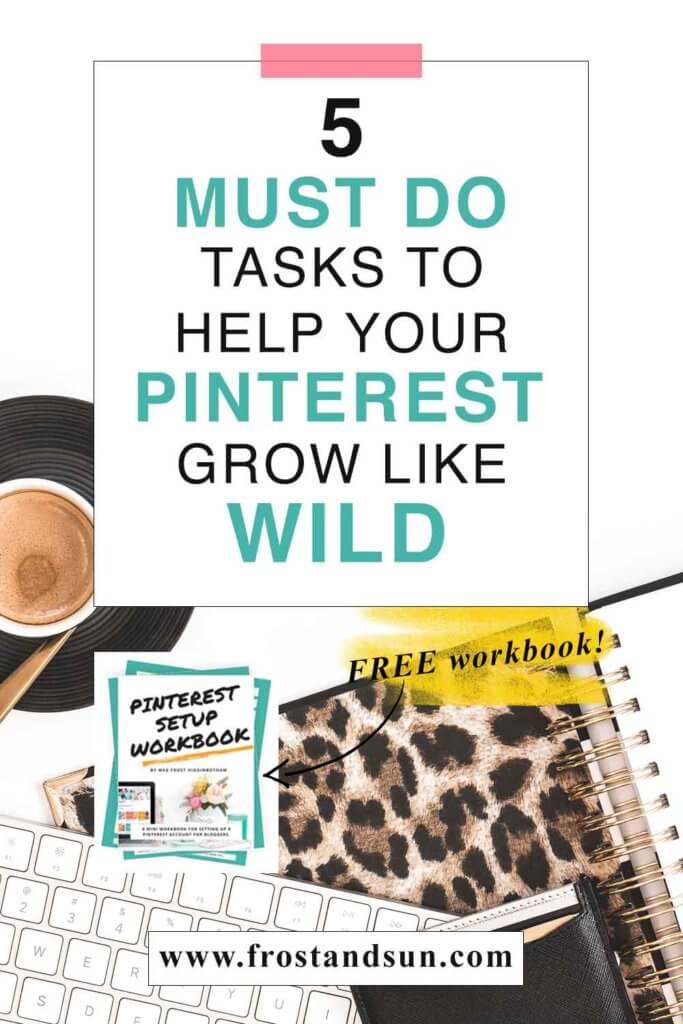
In this post, I’ll teach you the top 5 things to do when getting started on Pinterest to turn your account into a traffic-generating machine for your blog.
And if you’re already on Pinterest, you can revamp your account using these steps, too!
Create a Pinterest business account
Creating a business account is the first thing you should do when setting up a Pinterest account for your blog.
If you’ve already created a personal account, you can easily swap to a business account.
To learn more about Pinterest business accounts and how to set them up, check out my post on this topic.
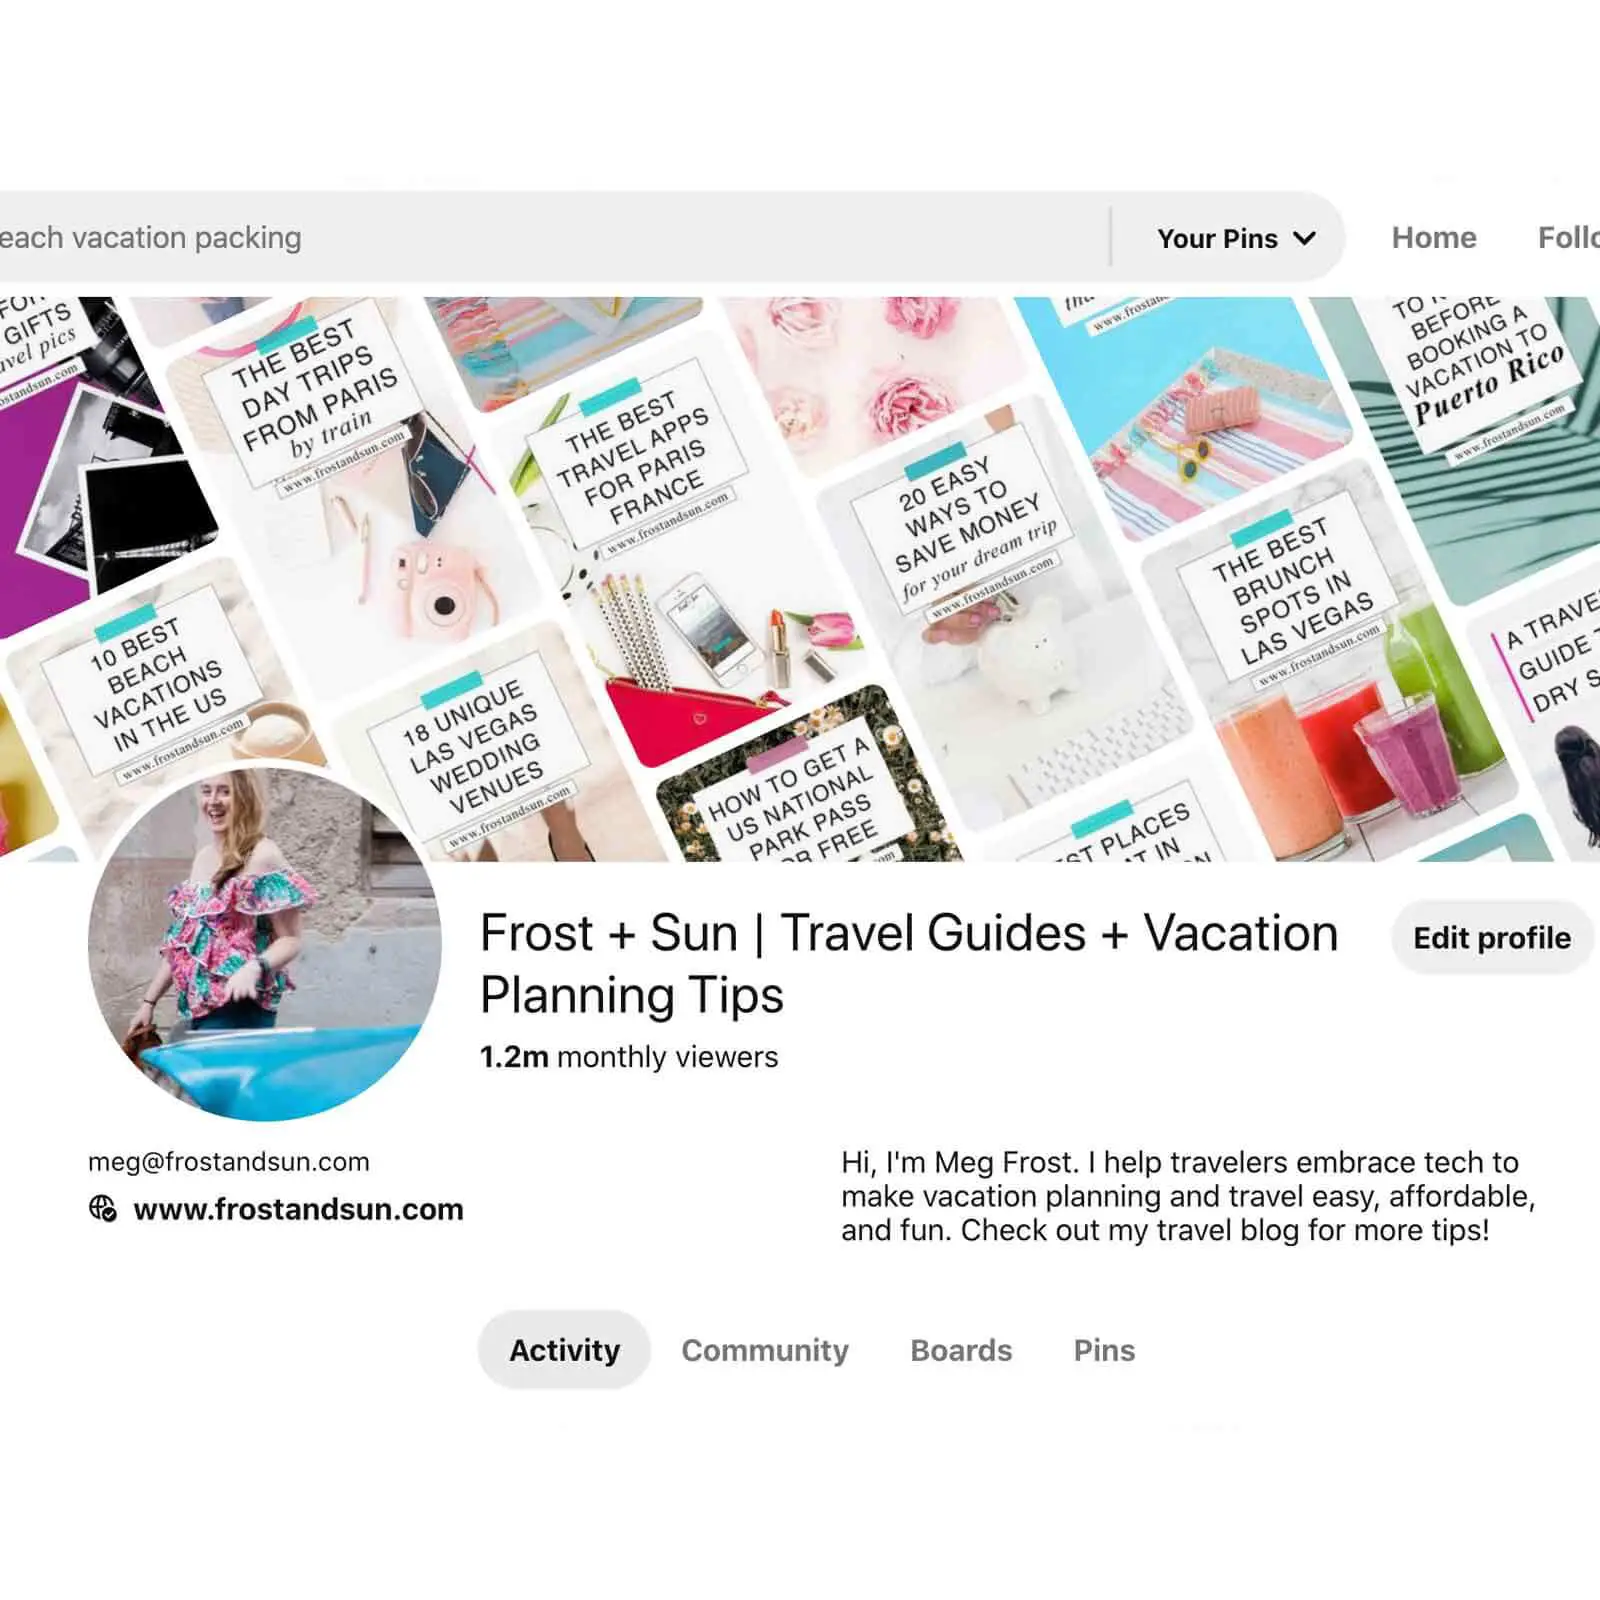
Maximize your Pinterest profile
Once you get your business account created, it’s time to edit your profile and maximize the potential of it being found when Pinterest users are searching for something.

Add a profile photo
Upload the same profile photo that you use on your blog’s social platform accounts.
As with your username, using the same profile photo helps users recognize your profile no matter which platform they are on.
Add keywords to your profile name and description
First, update your display name to include your blog’s name and a few keywords that describe the main topics your blog covers.
For example, let’s pretend you are a fashion blogger and you have a blog called The Minimalista that specializes in minimalist fashion.
Your Pinterest profile title might say: The Minimalista – Minimalist fashion & capsule wardrobes.
Second, update the About your profile section to describe what you do and how you can help followers.
For example, a profile description for The Minimalista might say: I show moms how to create a capsule wardrobe on a budget and year-round minimalist fashion looks for less.
Adding keywords to your display name and profile description will help your account show up in search results for queries that are relevant to what you blog about.
In other words, you are helping the people you want to reach find you as easily as possible!
Verify or claim your website URL
Once your profile is maximized with keywords, it’s time to claim your website so that you can get the full benefits of having a business account on Pinterest.
If you don’t complete this step, you won’t get access to useful analytics, such as which images people are pinning from your website and individual stats on your pins.
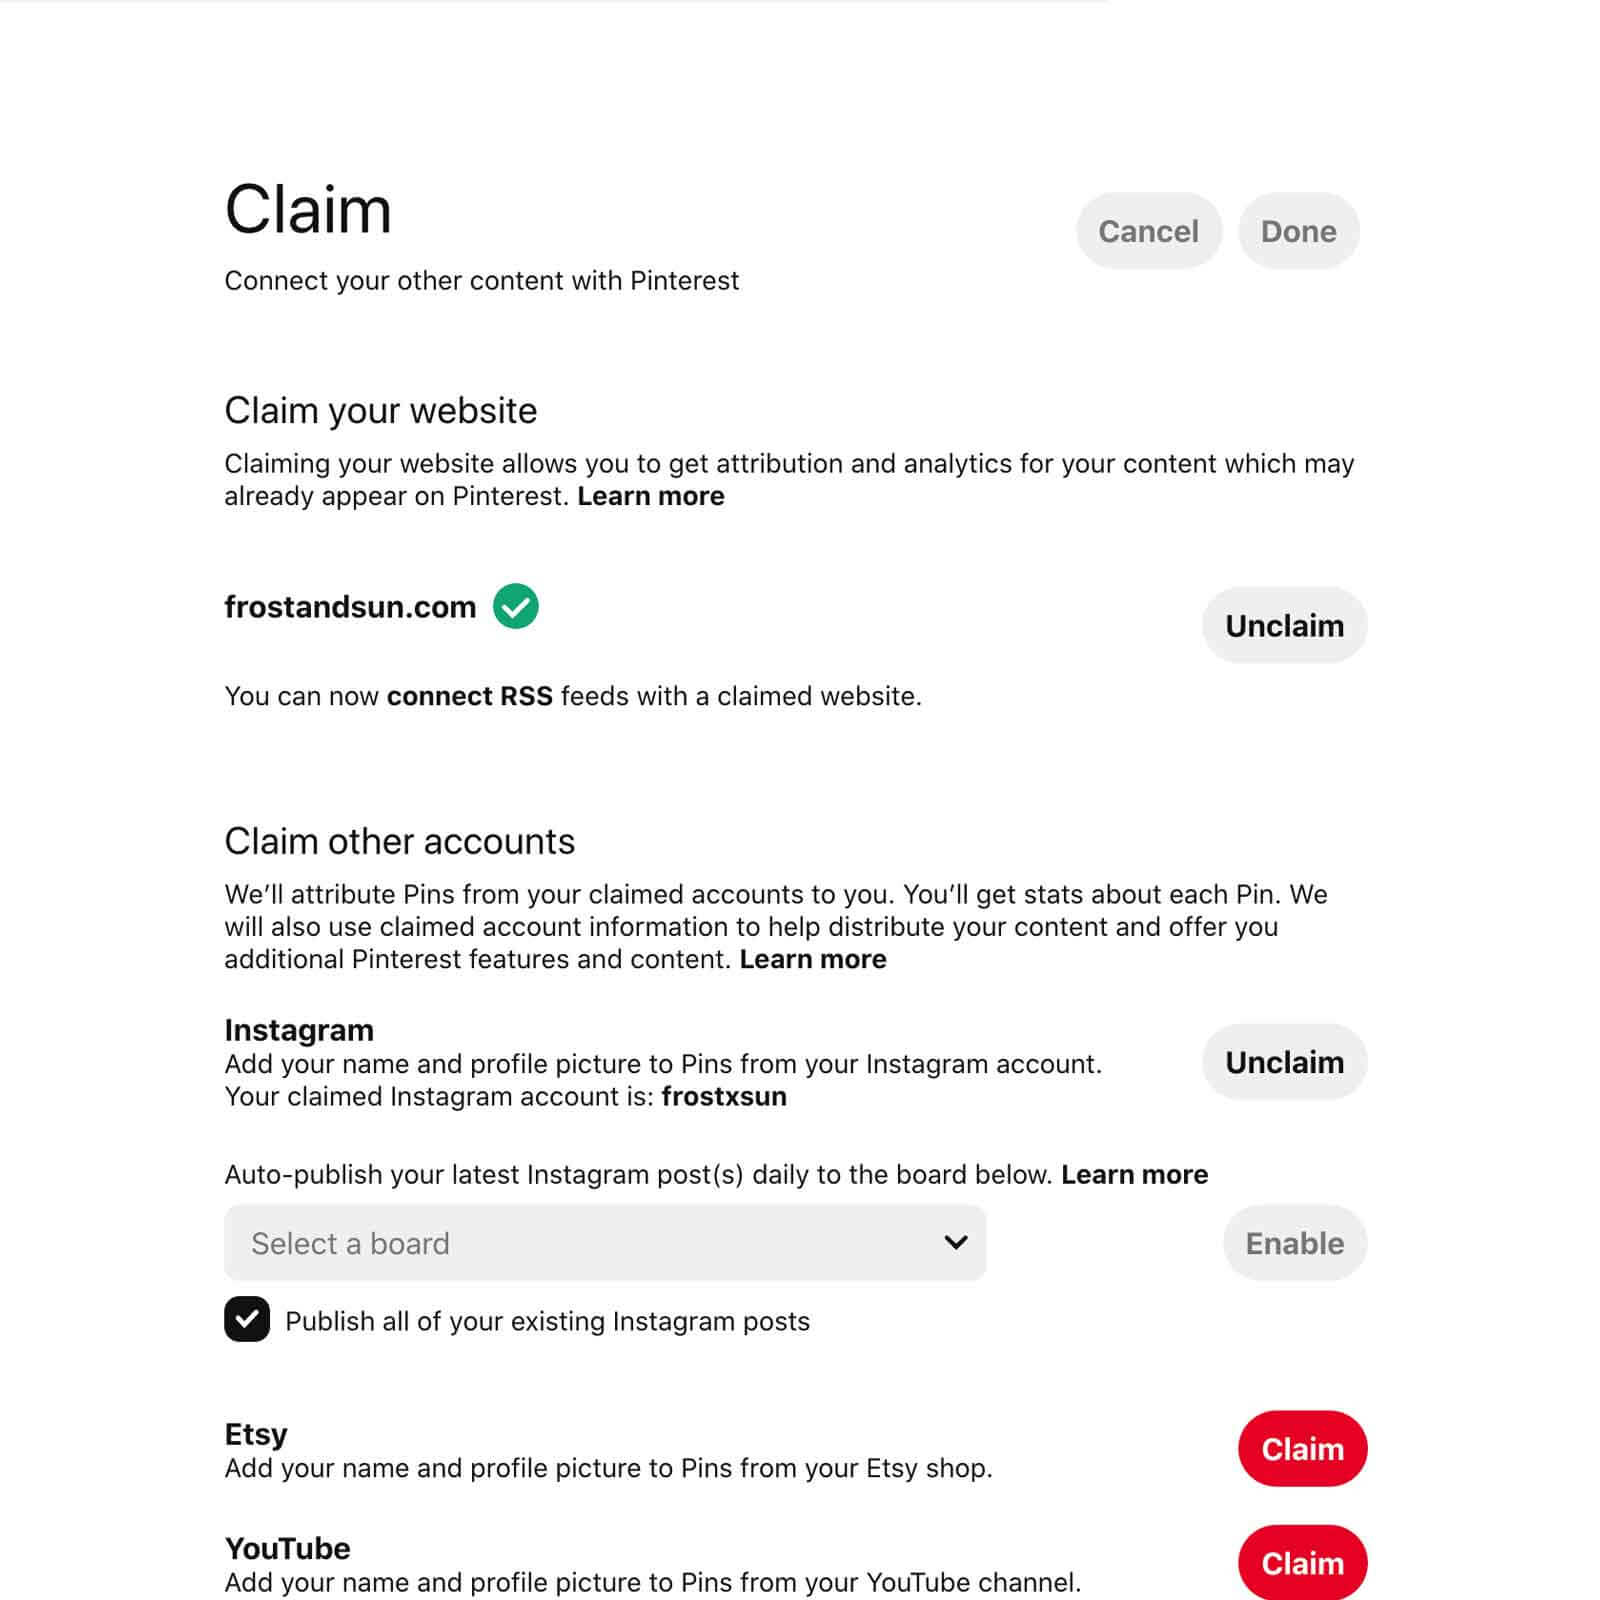

How to claim your website on Pinterest
Claiming your website on Pinterest involves a bit more than just putting your URL in your profile – but don’t worry, it’s pretty easy to do!
TIP: If you aren’t using WordPress, check out this page for tips on claiming a website for other platforms, such as Squarespace and Wix.
Option 1: Yoast SEO Plugin
The easiest way to claim your WordPress website is via the Yoast SEO plugin.
- First, install the Yoast SEO WordPress plugin. The basic version of Yoast SEO is free and will help you complete this crucial step. Plus, it provides SEO guidance for your site, as well as each post and pages.
- Once you have Yoast SEO installed and activated, click the 3 dots in the upper right and select Edit settings.
- Select Claim from the left navigation menu.
- Add your URL and select the Claim website button.
- Select Add HTML tag and copy the text in the box. Select the Next button.
- Switch over to your website in a new tab and sign in as an admin. Hover over the Yoast SEO menu toward the bottom of WordPress’ left navigation menu and select Social.
- On Yoast’s Social settings page, select Pinterest. Paste the HTML tag into the Pinterest confirmation field box and click the Save changes button.
- Switch back to the tab with your Pinterest account from step 5. You should see a pop-up asking you to submit your claim for review. Click the Submit button. It usually takes about a day for website claims to be confirmed by Pinterest. You’ll receive an email once your claim is approved, plus you’ll see a green icon with a checkmark next to your URL on the Claim page.
Option 2: Upload an HTML file from Pinterest
If you prefer a different SEO plugin (or none at all), you can claim your WordPress website by uploading an HTML file to your website.
- Follow steps 2-4 from the section above (Edit settings > Claim > Claim website).
- On the pop-up, select Upload HTML file. Download the file to your computer and click Next. Leave Pinterest open.
- Using File Transfer Protocol (FTP) software, connect to your website and upload the file.
- Once the upload is complete, go back to your Pinterest account from step 2. You should see a new pop-up to confirm that you uploaded the HTML file. Click the Submit button to send in your website claim for Pinterest’s approval. Pinterest will send you an email when it is approved in about 1 day.
Set up rich pins for your blog post links
Rich pins show extra information specific to the type of pin, such as price, ingredients, and brand name, that improve the user experience of your pins.
There are 4 types of rich pins:
- App pins
- Article pins
- Product pins
- Recipe pins
App pins are specifically for links to download an iOS or Android app. These pins include an Install button and an Apple or Google Play icon to let users know which type of device the app is for.
Product pins include current and original price (if different), type of currency, brand of the product, and availability.
All of this information is helpful for making a purchase decision, so if you sell a product, these pins will be super valuable to getting a new purchase stream going on Pinterest.
Recipe pins also show an ingredients list, the amount of time the recipe takes, as well as the number of servings the recipe creates.
You can also include extra photos in recipe pins. Recipe pins are a no-brainer for bloggers that publish recipes.
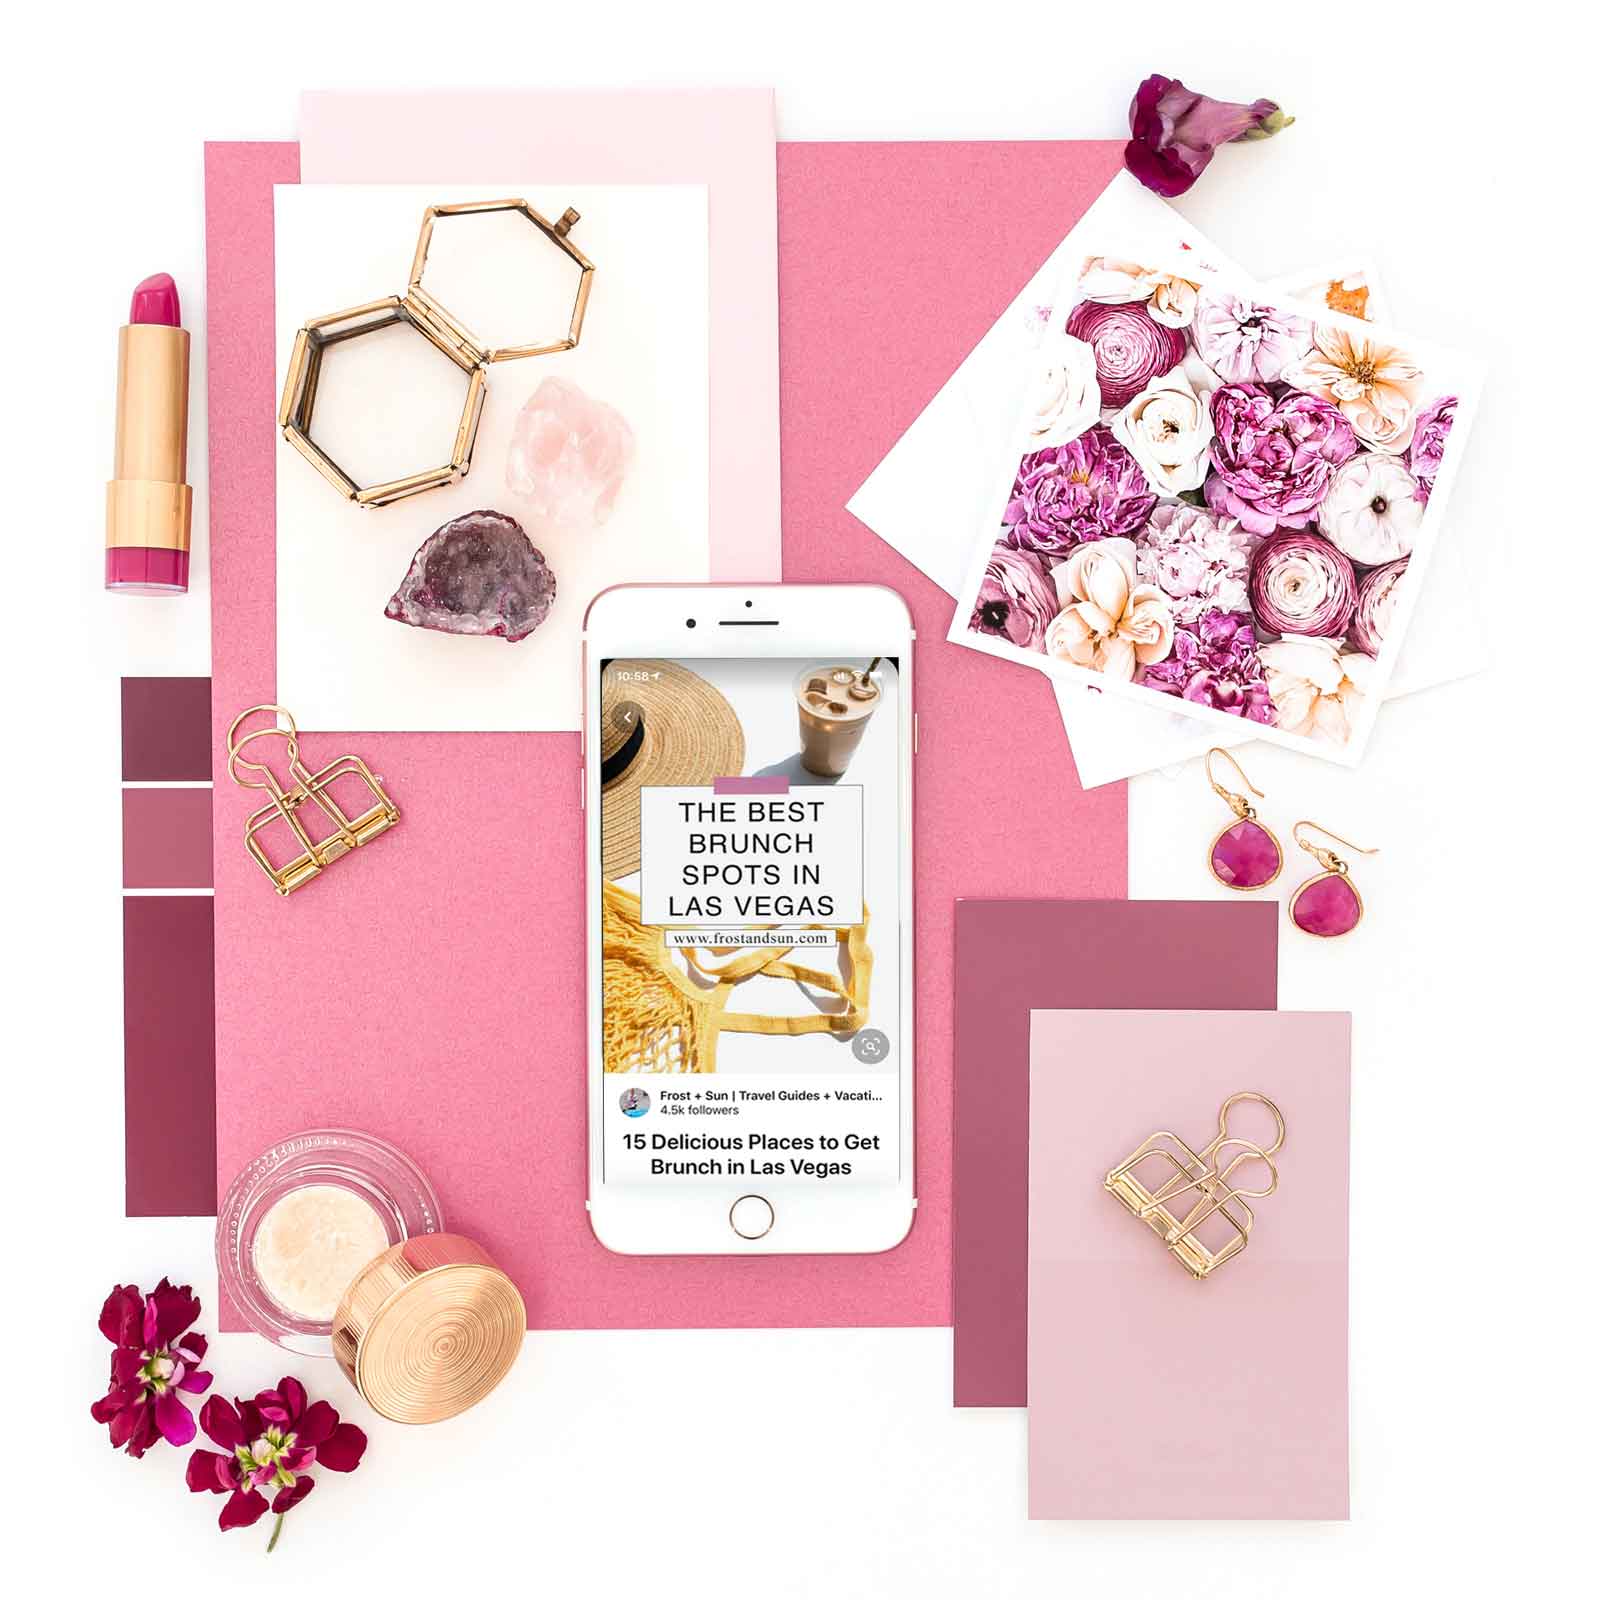
Article pins include the title, description, and site or blog name.
While article pins seem basic compared to the other types of rich pins, it provides just enough information to entice Pinterest users to click on a pin for a blog post.
Article pins are valuable to all bloggers, as it applies to all types of blog posts. So if you aren’t a food blogger or app developer and aren’t selling something, enabling rich pins is still important if you’re setting up Pinterest for a blog.
How to set up rich pins for a website or blog
First, in order to enable rich pins, you have to have a business account.
Remember when I told you that at the beginning of the post? Well if you haven’t done it yet, do it NOW!
To enable rich pins, any page or post that falls into the 4 rich pin categories needs to be marked up with the applicable metadata.
While that might sound super techy and complicated, setting up rich pins is actually super easy.
If you’re using WordPress as your blogging platform, you can use the Yoast plugin to do the backend work for you.
Sound familiar? Yep, this is the same plugin that I recommended above to help claim your website in your Pinterest business account settings.
If you haven’t set up Yoast yet, follow the steps above for “Claim your website with the Yoast SEO plugin.”
Once you’ve done that, verify your rich pins are working with these 3 steps:
- Go to any blog post and copy the URL. Don’t use your homepage, as it won’t have the markup needed.
- Paste the URL into Pinterest’s rich pin validator tool. Select the Validate button.
- If the page is validated, you’ll see an Apply button. Select the Apply button. Rich pins should be enabled within 24 hours from hitting the Apply button.
If the page isn’t validated, go back through the steps to ensure everything has been followed to the letter. Otherwise, you should only have to complete this step once to verify that rich pins are enabled.
Lastly, if you already had rich pins set up prior to 2020, and the rich pin validator tool says your pins aren’t working, it’s very likely that they are.
However, per my conversation with a Pinterest employee, you can apply for the Verified Merchant Program to ensure the rich pin validator tool doesn’t return an error.
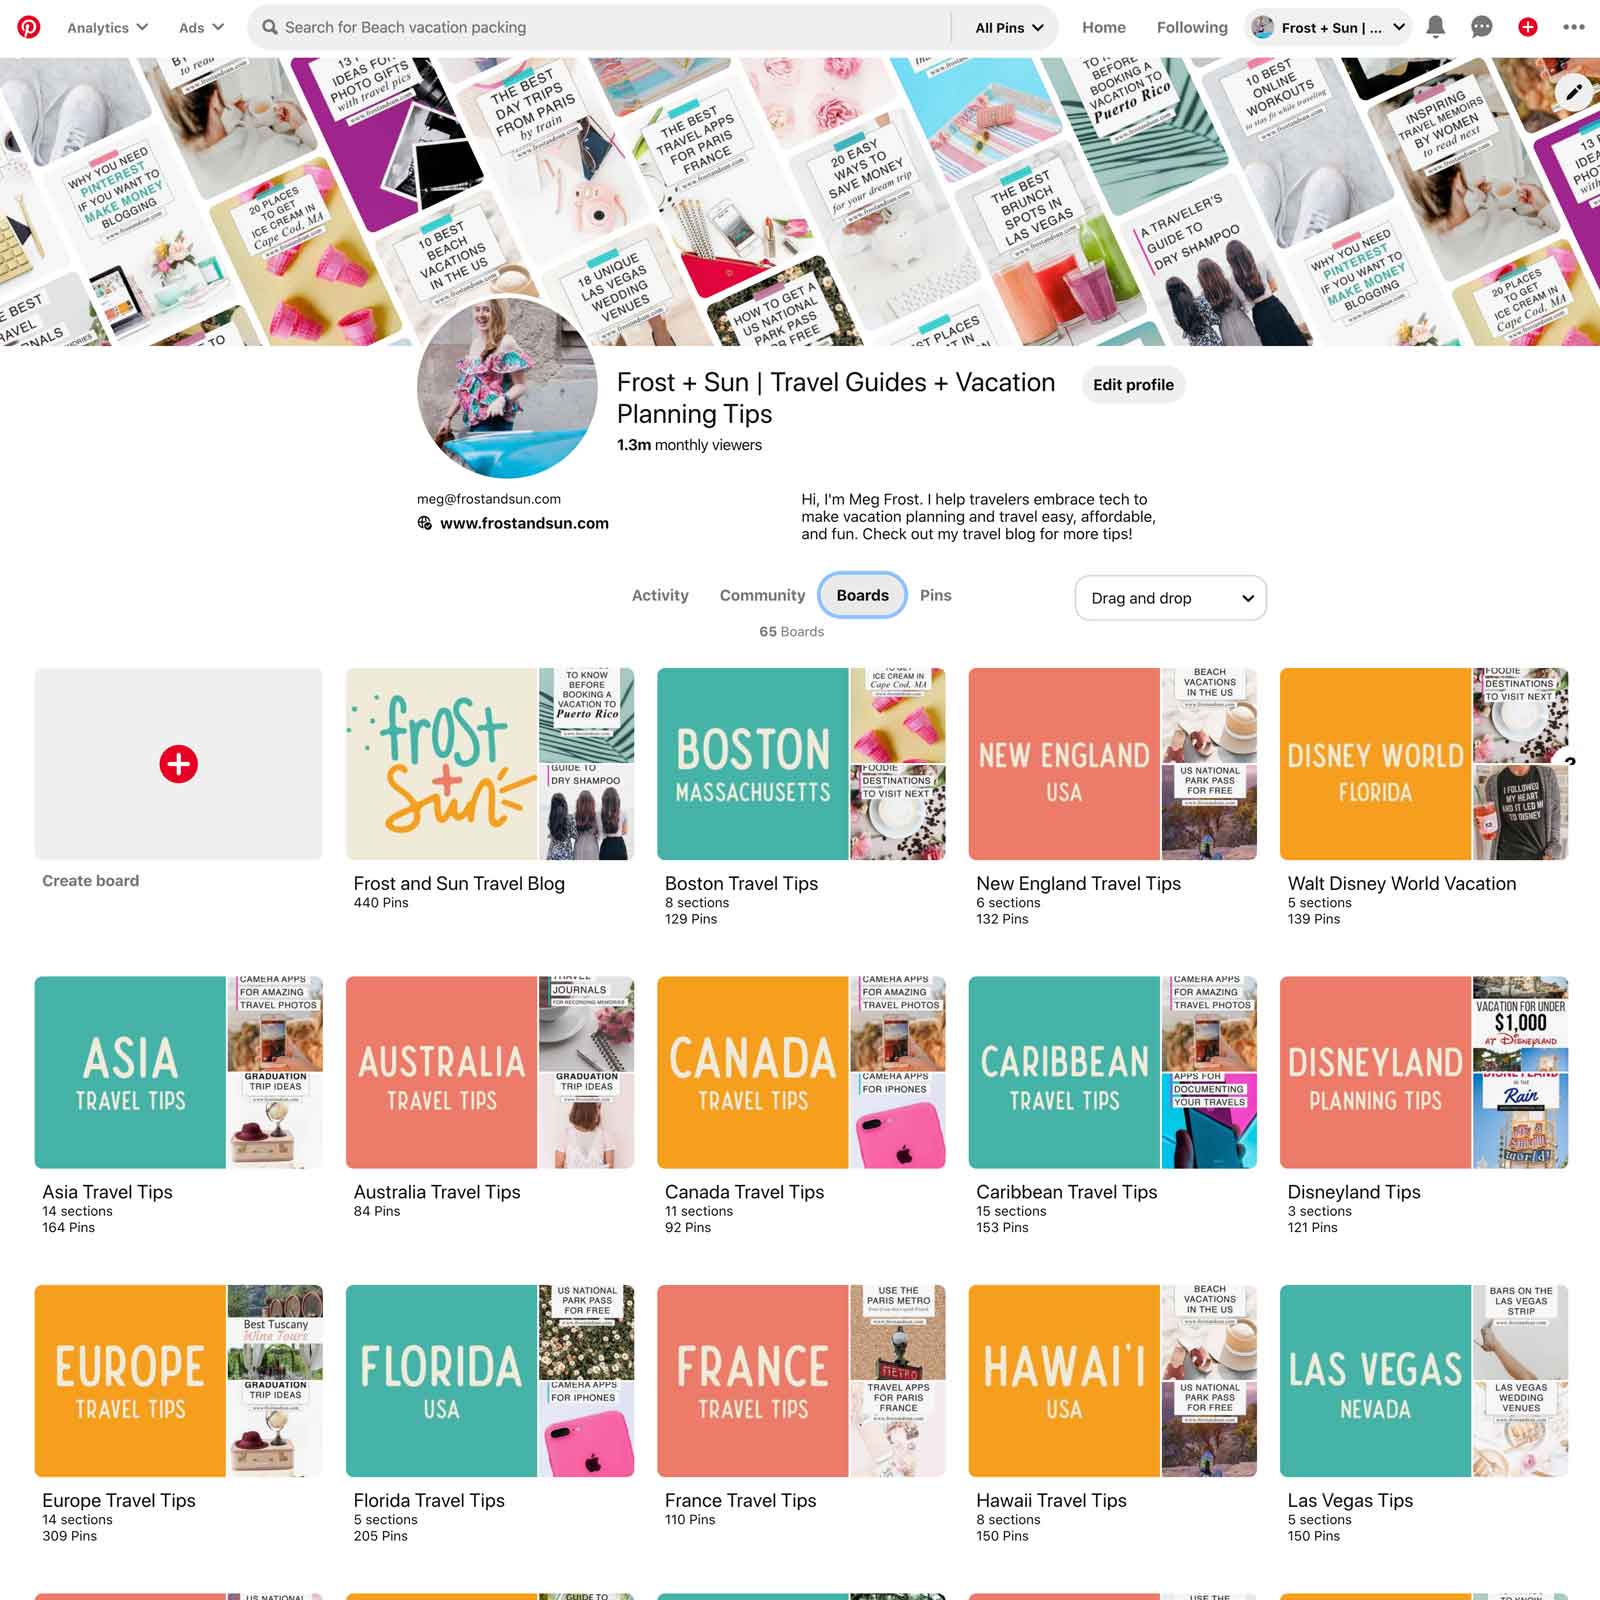
Add boards to your Pinterest profile
Before you start pinning, you need to set up a few boards so you have somewhere to add pins to.

How to create a board on Pinterest
NOTE: These instructions apply to business accounts only.
- Sign in to your Pinterest account
- Select your profile name in the upper right corner.
- In the drop down, select the Profile button or your profile photo to go to your profile.
- On your profile page, select the Boards link or See all boards button. Both are located underneath your profile description.
- On the boards page, select the Create board card to the top left of the board cards.
- On the Create board pop-up, add a title for your board. If you want to hide the board from Pinterest users, check the box next to “Keep this board secret.”
- Your board is now live, but before you go, click the pencil icon at the top of the page.
- On the Edit your page pop-up, add a keyword-rich description and select a category from the dropdown menu.
- Select the Save button to save your changes.
Pinterest board ideas for new accounts
The goal of your Pinterest boards is to help or inspire your user on the board topic.
The first board you need to add is a board for your blog posts and products. This board should include your blog’s name, as well as a description for what you blog about.
For example, if you have a baking blog, your main Pinterest board might be “Kat’s Kitchen Baking Blog” or “Kat’s Kitchen Blog Posts.”
The remainder of the boards you create should cover the topics that you write about on your blog. In other words, if you don’t write about it, don’t create a board for it.
A few boards for Kat’s Kitchen could be:
- Baking Essentials
- Brownie Recipes
- Cookie Recipes
- Dessert Recipes
- Gluten-Free Baking
- Holiday Baking
Keep the board titles simple and obvious, as I did in the list above.
Avoid cutesy names, acronyms, and styling for your board titles because that will confuse Pinterest as to what the boards are about.
The title should tell people and Pinterest what the board is about without needing to read the description or see the pins on the board for context.
For example, Dessert Recipes is basic but easy to understand; it’s about dessert recipes.
On the flip side, Sweet Stuff could be a board about any number of things from candy or desserts to cool accessories or things that remind you about your boo.

Pinterest board descriptions
Board descriptions should further explain what the board is about using keywords to help capture Pinterest users interested in that board topic.
For example, on the above Dessert Recipes board, you could include keywords such as brownies, birthday cake recipes, and holiday desserts.
I recommend using complete sentences in your board description, rather than a copy+paste dump of keywords. It looks more professional and is easier to read, making it more user-friendly.
Who’s excited about getting started on Pinterest?
Once you knock out these 5 steps, you’ll have a solid foundation for using Pinterest to market your blog posts and drive traffic to your site.
Then you can get working on making Pinterest pins for your blog posts that will bring you lots of traffic.
Be sure to pin this post so you have easy access to it when you’re ready to get started on Pinterest or revamp your existing Pinterest account.
About the author


Meg Frost is a Boston-based travel blogger that helps people embrace technology to make vacation planning and traveling wicked easy, affordable, and fun.
She holds an M.A. in Journalism from Northeastern University and B.S. in Communication & American Studies from University of Miami.
This post was originally published on April 24, 2020. It was last updated on October 16, 2022.
Megz
Sunday 12th of July 2020
*slowly reading every blog post about Pinterest on your site* Haha, I'm obsessed with these posts because I'm learning so much. Thank you times a million, Meg!!!
Meg Frost
Monday 20th of July 2020
You got it! Can't wait to see your account grow!!
Shar
Monday 1st of June 2020
This is so helpful! Thanks a ton for pulling this together.
Acasia
Thursday 30th of April 2020
This is SO helpful. Thank you for sharing all this wisdom!
Meg Frost
Thursday 7th of May 2020
Thank you for stopping by!
Bisa
Wednesday 29th of April 2020
I have been neglecting my Pinterest account for over a year. So much has changed. This is a great post. Thanks for the updates.
Meg Frost
Thursday 7th of May 2020
Happy to help!
Stacey
Saturday 25th of April 2020
Very useful tips with tons of information. Like you I was overwhelmed but I needed to drive more traffic to my blog. Fb was my initial goto but when they changed the algorithm that dwindled to almost nothing. I had heard about the travel community on Pinterest but that took a minute to figure out. The key to Pinterest is in making great pins and pinning often, access to great group boards and sharing others pins too.
Meg Frost
Thursday 7th of May 2020
Yes - agreed! Great pins are essential, but that's a whole post in itself, haha!